Language
Using GIS Tools
DELETED
You can can download our new streaming process user guide here while the documentation update on this portal is in progress
The OneAtlas Basemap streaming services follows rigorously the standards of the protocols it is compatible with. Consequently, the integration of our endpoints in the GIS tools is straightforward.
Prerequisites: If you haven’t already, see our Authentication Guide for information on how to acquire your Basemap API Key to access the OneAtlas Basemap endpoints. Be aware that the credentials provided with your Basemap API key are enough to access the basemap through GIS Tools.
Below is summarized the GIS tools compatibility with the protocols available in OneAtlas Basemap.
| WMS | WMTS | WFS | AGS Rest | AGS Soap | KML | |
|---|---|---|---|---|---|---|
| ArcMap | ||||||
| ArcGIS Pro | ||||||
| ArcGIS Online | ||||||
| QGIS | ||||||
| ArcEarth | ||||||
| Google Earth Pro |
QGIS
You can easily access to the OneAtlas data imagery with OSGeo's QGIS Desktop application. QGIS is an Open Source Geographic Information System (GIS) licensed under the GNU General Public License. QGIS currently can act as a WMS and WMTS client.
Prerequisites
If your network is protected by a proxy you first need to enter the relevant settings. From the “Settings” menu, click on “Options” and then on “Network” to set the proxy settings.
WMS/WMTS Streaming in QGIS
The procedure to follow is documented directly on the QGIS website
In the menu “Layer” / “Add Layer” / “Add WMS/WMTS Layer…” / “New”, you will need to provide:
- WMTS or WMS endpoint (see Manage Subscriptions).
- Credentials (username and password) authorized to display the basemap (see Authenticate Guide).
The resulting dialog box filled out for WMS basemap streaming should look like:

The resulting dialog box filled out for WMTS basemap streaming should look like:

If you have entered the correct details, this should be the result in QGIS:

WFS Access in QGIS
In the menu select “Layer” / “Add Layer” / “Add WFS Layer…” / “New” you will need to provide:
- The WFS endpoint (see the Manage Subscriptions guide)
- Credentials authorized to display the basemap (see Authenticate Guide)
The resulting dialog box filled out for WFS metadata should look like:

Select the layer you just entered in the list of available layers and click on “Connect”.

Once you successfully connected to the endpoint the list of available layers is displayed. Select the layer you want to access and finally, click on “Add” to display the layer into the map and click on “Close” once it is loaded.

The following window will be displayed during the loading of the features (metadata tiles). Then all the footprints of the basemap images will be displayed on the map, and the attribute table provides all the metadata:

Note: Due to an issue with QGIS you need to select “Open Attribute Table” on the WFS layer to make all the WFS entities to load in QGIS. Moreover, there are a very large number of entities in the WFS and the loading time can take several minutes.
QGIS - OneAtlas Basemap plugin
You can display a set of search and selected images by using the OneAtlas plugin for QGIS 3.
Installation
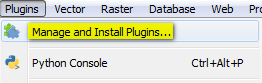
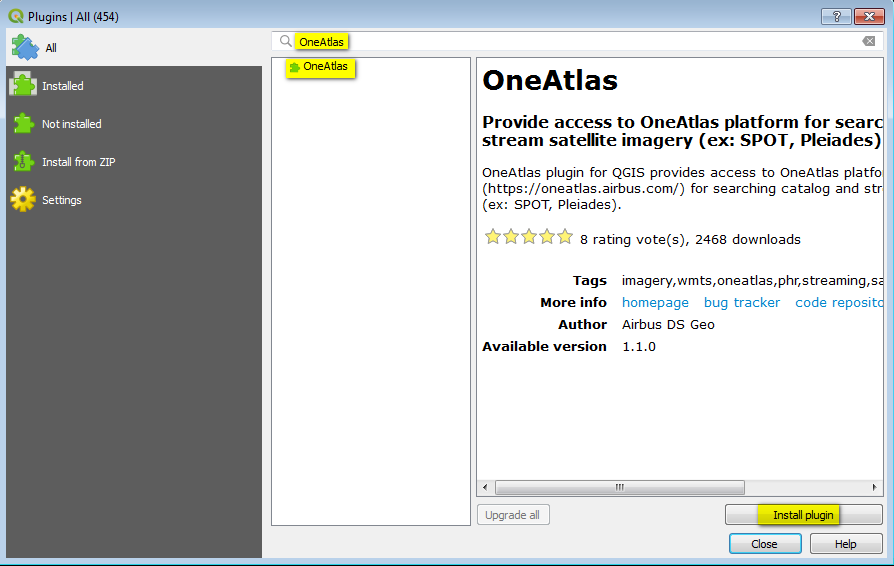
Go to “Plugins” menu and select “Manage and Install Plugins…”. Search for “OneAtlas” and select the “OneAtlas” plugin on the result, and click on the “Install plugin” button.
Overview of the plugin
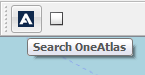
Display search window
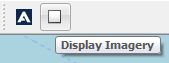
Display one imagery stream (after selecting the footprint found)
Search Window
- “Configuration” tab
- Enter your Basemap credentials (username and password) for searching OneAtlas Basemap
- Enter your API key for searching OneAtlas Data (Living Library)
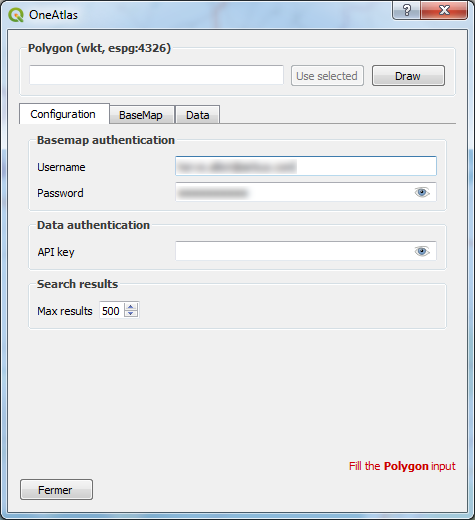
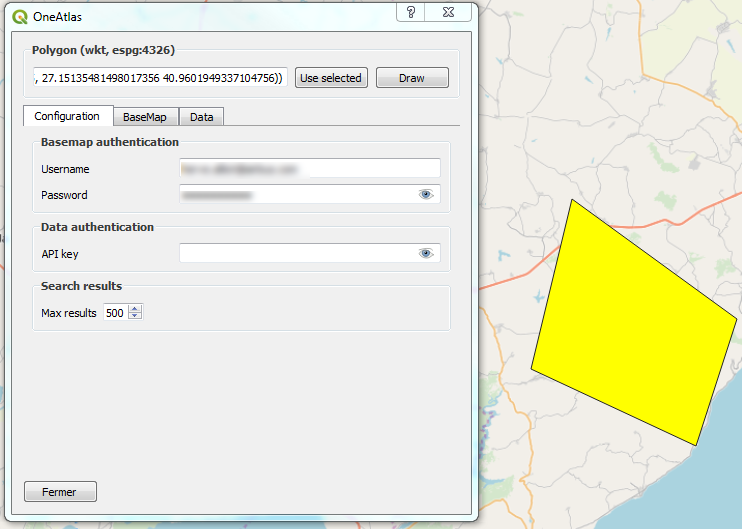
- Use an Area Of Interest (AOI)
- By clicking on “Draw” button
- By loading your own shape, selecting it and clicking on “Use selected” button
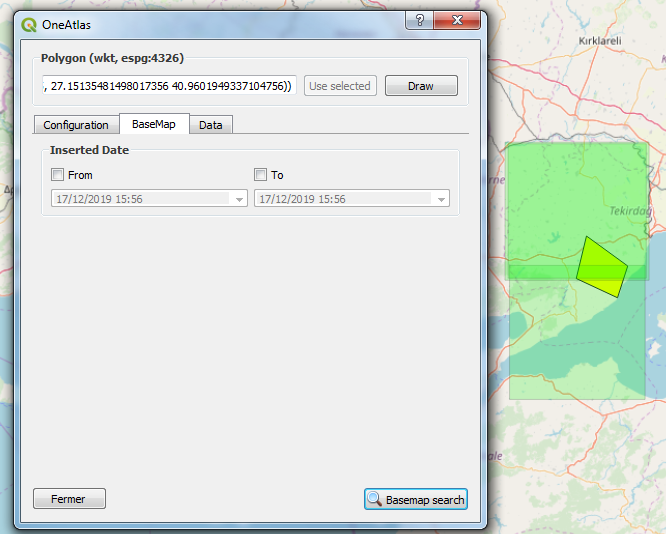
- “Basemap” tab - For Searching Basemap
- Click on “Basemap search” button
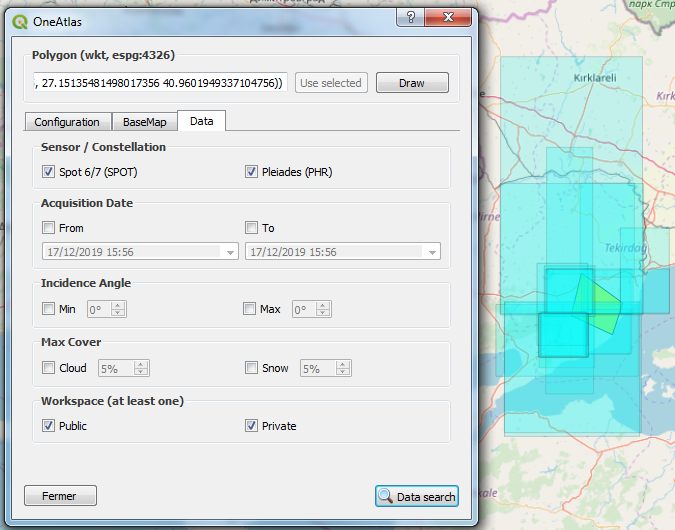
- “Data” tab - For Searching Living Library
- Set your search criterias
- Click on “Data search” button
Display imagery stream
- Select the footprint of the imagery expected
- Click on the “Display Imagery” button of the toolbar
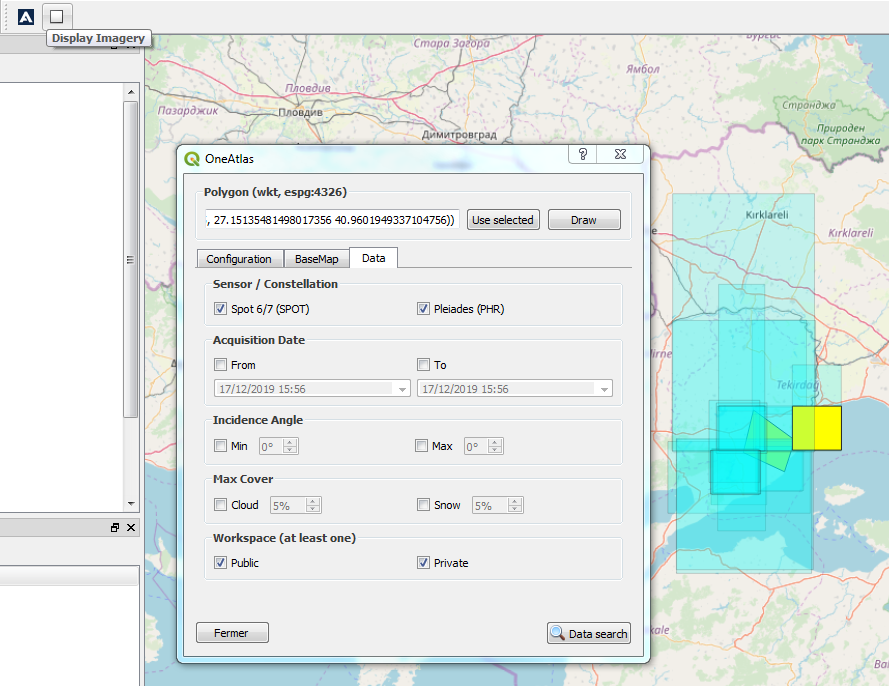

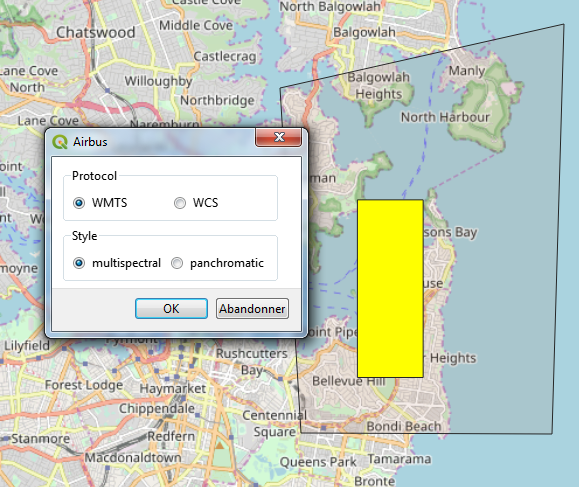
For Living Library Imagery (“Data” tab), if you have ordered the image you can select the stream (protocol) expected and select the representation (style).
ArcGIS Desktop
WMS/WMTS Streaming in ArcGIS Desktop
You can easily access to the OneAtlas Basemap imagery with ESRI ArcGIS Desktop, a commercial product used by GIS professionals to compile, use, and manage geographic information. The procedure to follow is documented directly on the ESRI website.
You will need to provide:
- The WMTS or WMS endpoint (see Manage Subscriptions guide)
- Credentials authorized to display the basemap (see Authenticate Guide)
The resulting dialog box filled out for WMS basemap streaming should look like:

The resulting dialog box filled out for WMTS basemap streaming should look like:

And the result in ArcMap is:

WFS Access in ArcGIS Desktop
Prerequisites
The use of WFS requires the user to install the Data Interoperability extension first, and then the user needs to add the Interoperability Connections folder into ArcMap.
Add WFS Server Into ArcMap
In the catalog tab, select the “Interoperability Connections / Add Interoperability Connection” folder. Then select “WFS (Web Feature Service)” as format and then click on the “Parameters…” button:
You will need to provide:
- The WFS endpoint (see Manage Subscriptions)
- WFS version: select 2.0.0
- Credentials authorized to display the basemap (see Authenticate Guide)
- Proxy server (if your network is protected by a proxy)
The resulting dialog box filled out for WFS should look like:

Add the layers with “Add Data” or click on the catalog tab to open the new WFS layer located in the Interoperability Connections folder as displayed here-below.

Drag & drop the “ONELIVE Polygon” in the table of content and wait for the features to be loaded and displayed.

SOAP Access
Select “Add ArcGIS server” / “Use GIS services”:

You will need to provide:
- The SOAP endpoint (see Manage Subscriptions)
- Credentials authorized to display the basemap (see Authenticate Guide)
Click on “Add Data”, go to the GIS Servers category to display this new layer.

Drag and drop the OneAtlas layer on the map or in the table of content.
ArcGIS Desktop OneAtlas Basemap AddIn
You can display a set of search and selected images by using the ArcGIS Desktop AddIn
Prerequisites
The use of WFS requires the user to install ArcGIS for Desktop 10.5 or higher.
Installation
Double click on OneAtlas Basemap AddIn file  Launch ArcMap and activate toolbar by clicking on “Customize > Toolbars > OneAtlas Images Search Toolbar”
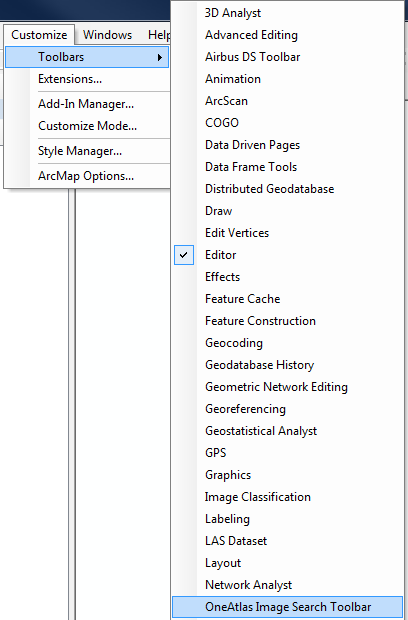
Overview of the AddIn
Search for OneAtlas Basemap Images 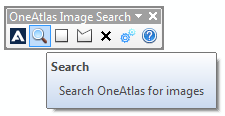 Draw a rectangular Area Of Interest
 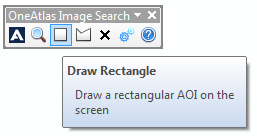 Draw a polygon Area Of Interest
 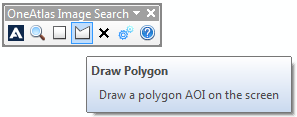 Erase current Area Of Interest
 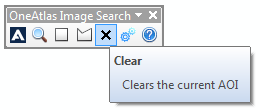 Change connection settings
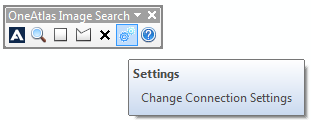
Searching and displaying images
Draw an Area Of Interest by using the rectangular tool.  Open search window, define search criterias, and launch the search by clicking on “Search By AOI”.
 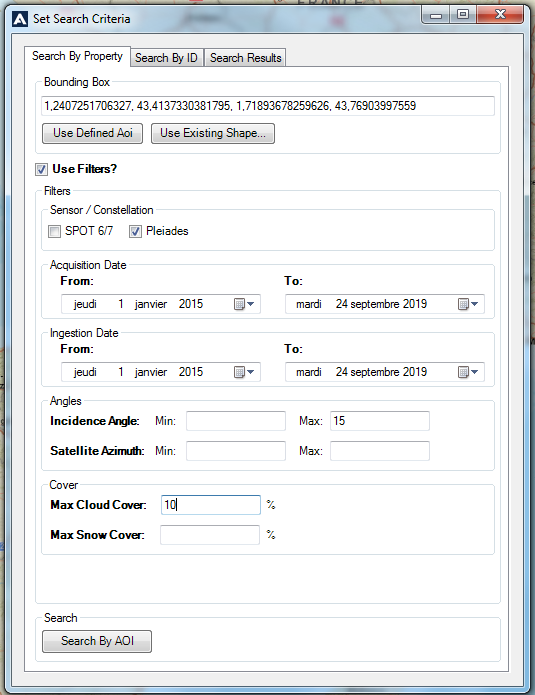 Enter your OneAtlas Basemap credentials and press “Login” button.
 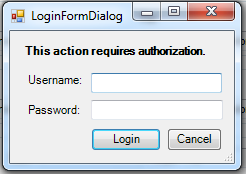 Click on “Search with limitations” buttons, the bounding box of all the images found in catalog is displayed.
  Select images to view the metadata.
  Click on “Add Selected Images as Layers” button to display the image in full resolution using WMTS endpoint.
ArcMap layers available
“AOI & Search Criteria” layer, store Area Of Interest bounding box and the criterias used for your search  “Search Results” layer, store bounding box and metadata of the images found
Searching by ID
Put the IDs of the images, and click on button “Search By IDs” 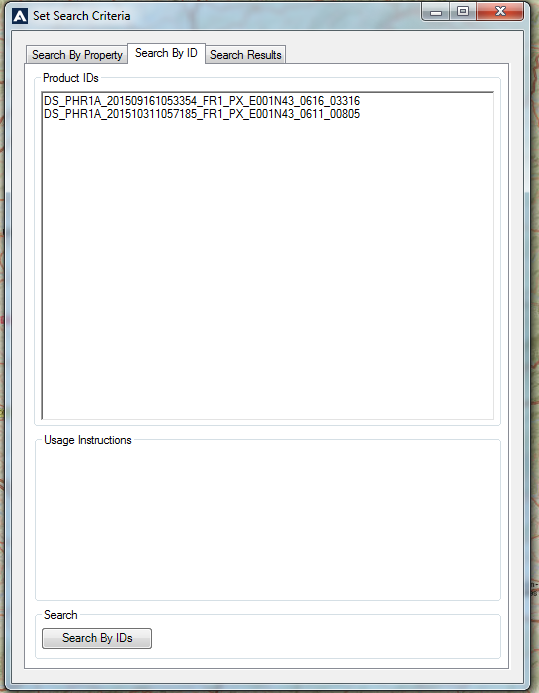 Select images to view the metadata.
  Click on “Add Selected Images as Layers” button to display the image in full resolution using WMTS endpoint.
Google Earth Pro
WMS Access in Google Earth Pro
Click on “Add” from the toolbar and select “Image Overlay”. Enter the name of your layer in the “Name” field. Then click on the “Refresh” tab and select “WMS Parameters”:

Select the layers you want to add on the left part of the window, then click “Add ->” to move it on the right part of the window. Once the layers are selected, click on “OK”.

Notice that the “Link” field is now filled with the appropriate syntax. Click again on “OK”.

Your layer now appears in the “Places” of Google Earth as displayed here-below.

Click on the layer to display it on the map, you will be prompt to enter your OneAtlas Basemap credentials (username and password).

Load a KML in Google Earth Pro
Right click on one of the folders or files of the “Places” panel (on the left hand side of the window). Select “Add > Network Link” to open a new window. Enter the name of your layer in the “Name” field. Paste the link of the KML you want to display. You might need to enter your OneAtlas credentials (username and password) to display the layer.

Your layer now appears in the “Places” of Google Earth:

Click on the layer to display it on the map, you will be prompted to enter your OneAtlas login and password.

If you wish to add the KML layer of the OneAtlas metadata, follow the same steps above to display them on the map.

ArcGIS Earth
WMS/WMTS Access in ArcGIS Earth
Click on the “+” button from the toolbar to add new data in the virtual globe:

Make sure to be in the tab named “Enter a URL”, then select the “OGC WMS” or “OGC WMTS”. Type in the drop-down list:

You will need to provide:
- The WMTS or WMS endpoint (see see Manage Subscriptions)
- Credentials to be authorized to display the basemap (see Authenticate Guide)

You will be prompted to enter your OneAtlas Basemap credentials (username and password). At the end of the retrieving process, you layer can be accessed on the left panel of the main ArcGIS Earth window.

ArcGIS Pro
WMS/WMTS Access in ArcGIS Pro
Select “New WMS Server” or “New WMTS Server”.
You will need to provide:
- The WMTS or WMS endpoint (see see Manage Subscriptions)
- Credentials to be authorized to display the basemap (see Authenticate Guide)

From the “Project” panel, click on “Servers“ to display the list of available servers, you should see the corresponding OneAtlas layer.

Right click on the OneAtlas layer and select “Add To New Map” to display it into the main window:

ArcGIS Enterprise
WMS/WMTS Access in ArcGIS Enterprise
Go to your ArcGIS Enterprise instance and authenticate.
Click on the “Map” menu and then on “Modify Map” on the upper right corner of the map, next to the “Sign In” button.
Select “Add Layer from the Web” then “A WMTS OGC Web Service” from the drop down list as type of data to reference. You will need to provide:
- The WMTS endpoint of OneAtlas Basemap
- Credentials to be authorized to display the basemap (see Authenticate Guide)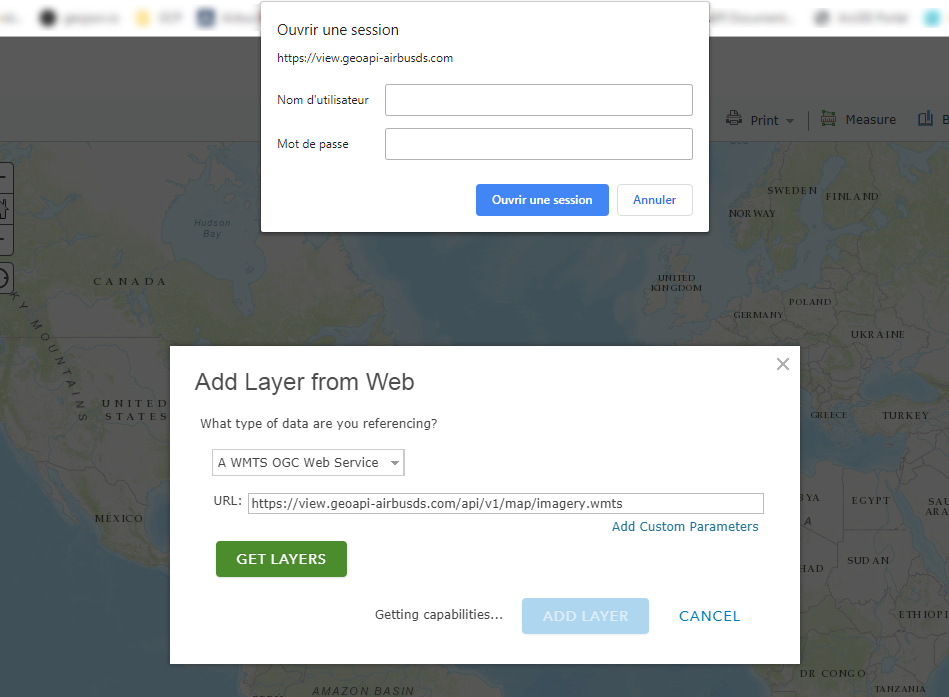 The layer name will be displayed in the ArcGIS Enterprise “Table Of Content” on the left hand side of the map. Meanwhile, the layer will be displayed on the map.
ArcGIS Online
WMS/WMTS Access in ArcGIS Online
Go to ArcGIS Online: http://www.arcgis.com/home/webmap/viewer.html.
Click on “Modify Map” or “New Map” on the upper right corner of the map, next to the _“Sign In” button.
Note: you will need an ArcGIS Online account to “Sign In”.
Select “Add” / “Add Layer from the Web”:

Select “An ArcGIS Server Web Service” from the drop down list as type of data to reference:

You will need to provide:
- The SOAP endpoint (see see Manage Subscriptions)
- Credentials authorized to display the basemap (see Authenticate Guide)

The layer name will be displayed in the ArcGIS Online “Table Of Content” on the left hand side of the map as displayed below:

Meanwhile, the layer will display on the map:

© Airbus Defence and Space 2022. All rights reserved. Privacy Policy | Legal Information